(Project OverView)
So for this assignment, Marchand Venter and I have decided to team up to create a overall larger piece inspired by alternative future 1980's. Infusing a stylized middle class home setting with an open environment inspired by Castlevania. In this environment we aim to capture the feel of being immersed inside of a freshly bought game, and being melded with the excitement of adventure.
last assignment we had aimed to nail our aesthetic, a fun stylized look with flat colors and the feel of a technologically advanced setting of the eighties. For this environment assignment, when we created the concept for the living room, we wanted things to be rooted inappropriate design and function. In this world, the tech while more advanced did not affect the overall look of the time. While the game system may be able to project an entirely digital world, the design functions are rooted in classic console and projector fabrications.
This will help to contrast the medieval and wartorn feel of Castlevania's world. With large bevels and stylized textures, the world will capture the feel of the old platformer while maintaining the overall fidelity of the piece. We decided to take inspiration from titles such as Firewatch, Fortnite, and the feel of Martin Teichmann's Sunrise.
(Current Progress)
We are currently setting up a schedule and time frame for output of assets.
So far we've scoped at one living room, one player start area, and one canyon shot.
to accomplish this we need to create:
-Tileable textures-
-Carpet
-Wood Ceiling
-Mud
-Grass
-Wallpaper
-Castlewall
-Pebbles-
-Effects-
-Bats
-Fog
-Wind
-VR Scan
-Inside Environment-
-Table
-Lazyboy
-Ashtray
-Couch
-Fireplace
-Wood trim ceiling
-Outside Environment-
-Large craggy rock
-Medium side slate rock
-Small rock cluster
-Dirt mound
-Foliage-
-Roots
-Shrubs
-Forefront trees
-Background trees
-Mushrooms
-Landscape-
-Mountain Range/Canyon
-Castle
-Sky sphere
-Moon
-Broken down hut
-Iron Gate
-Tombstone
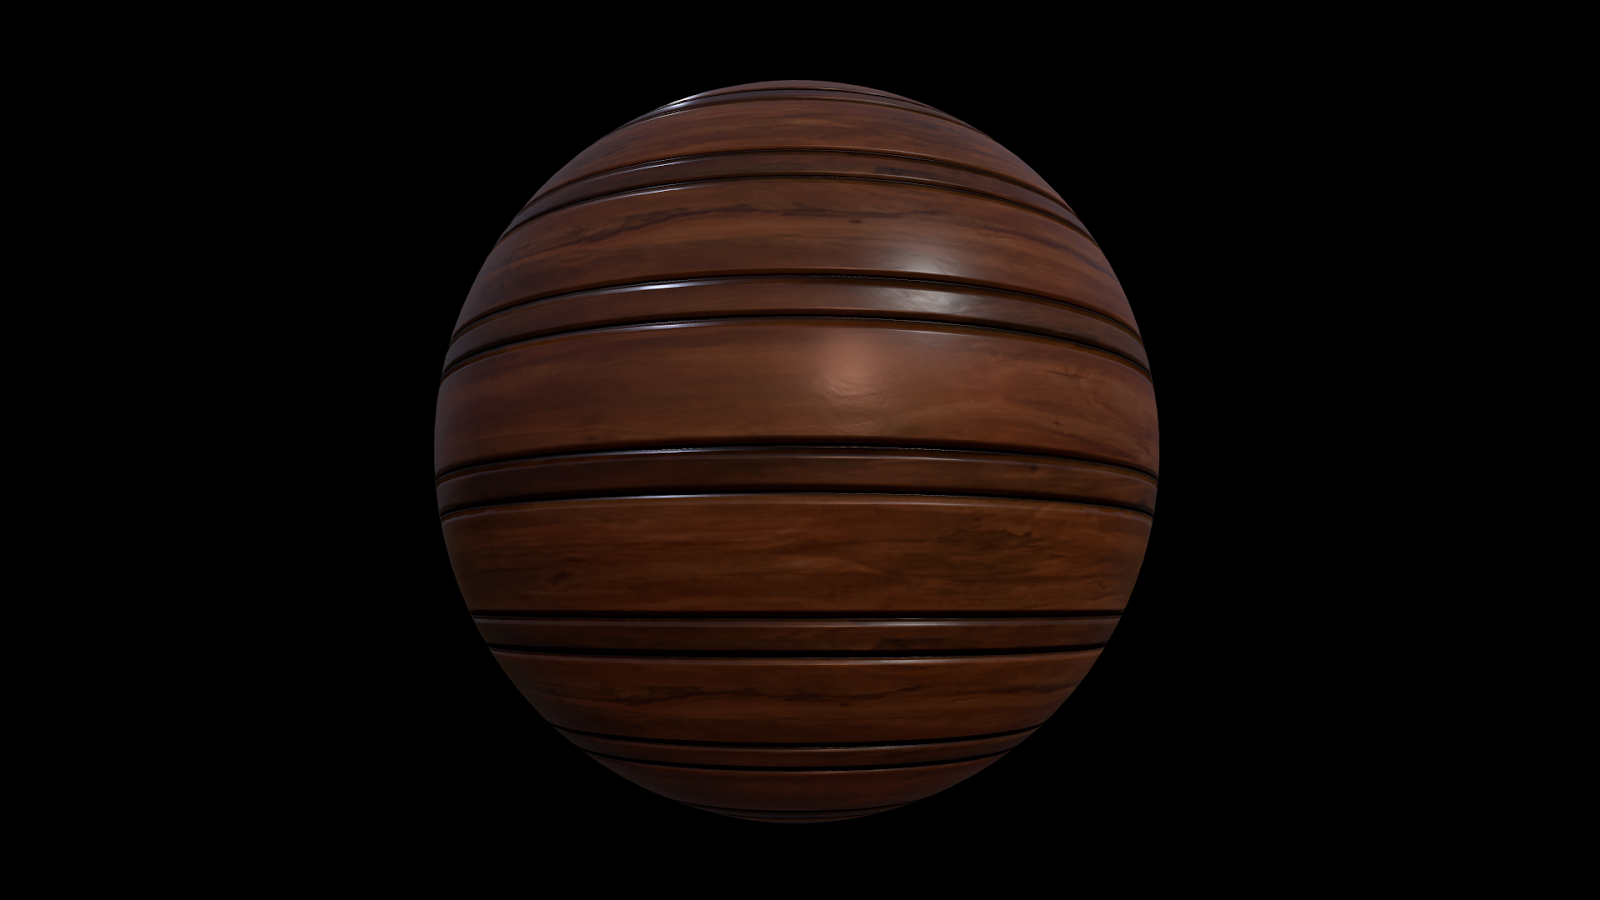
(Material Renders)
(Substance Designer)
(World Machine)
(Unreal Engine Materials Instinsing)
(UE4 Terrain)
One of our requirements for this project was to incorporate the unreal terrain sculpting workflow into our environments. At first, this seemed to be very finicky and hard to use, but after working with the tool and lowering the sculpting tools intensity I found it easier to manage.


One aspect that I was very much looking forward to learning was how to use the landscape tool to paint different layers of material onto the surface of our environments. While not being the same as vertex painting, they both achieve the same visibility.


(Rock Set)

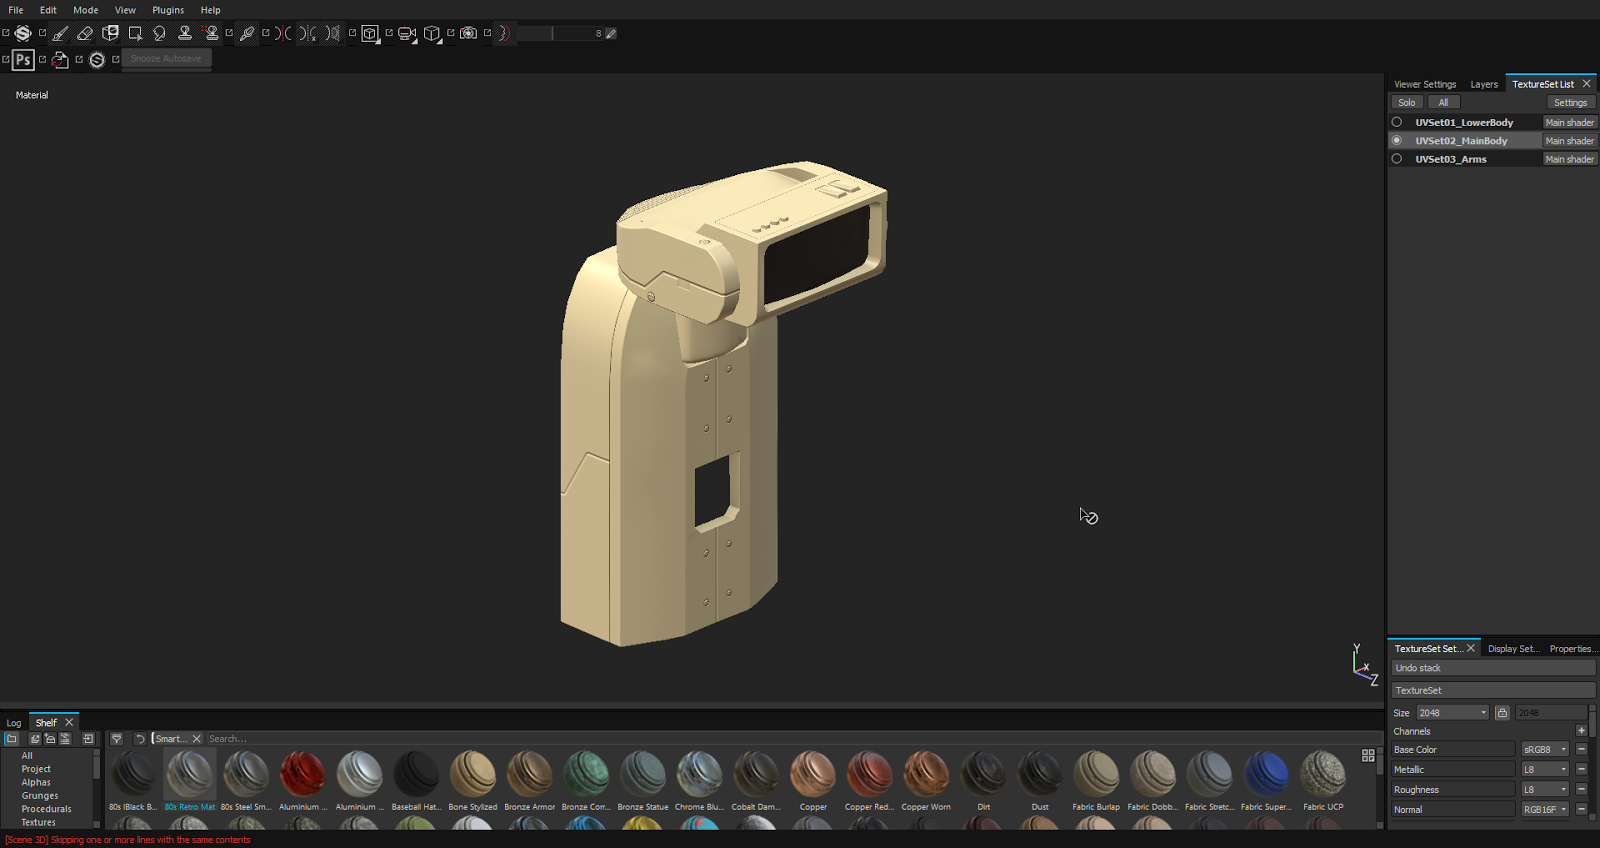
(Detailed Normals)
A super cool concept I researched for this assignment is the concept of Detailed maps. These can essentially be described as tillable normal and or defuse maps that can be overlayed on top of your baked maps to add variation and detail.

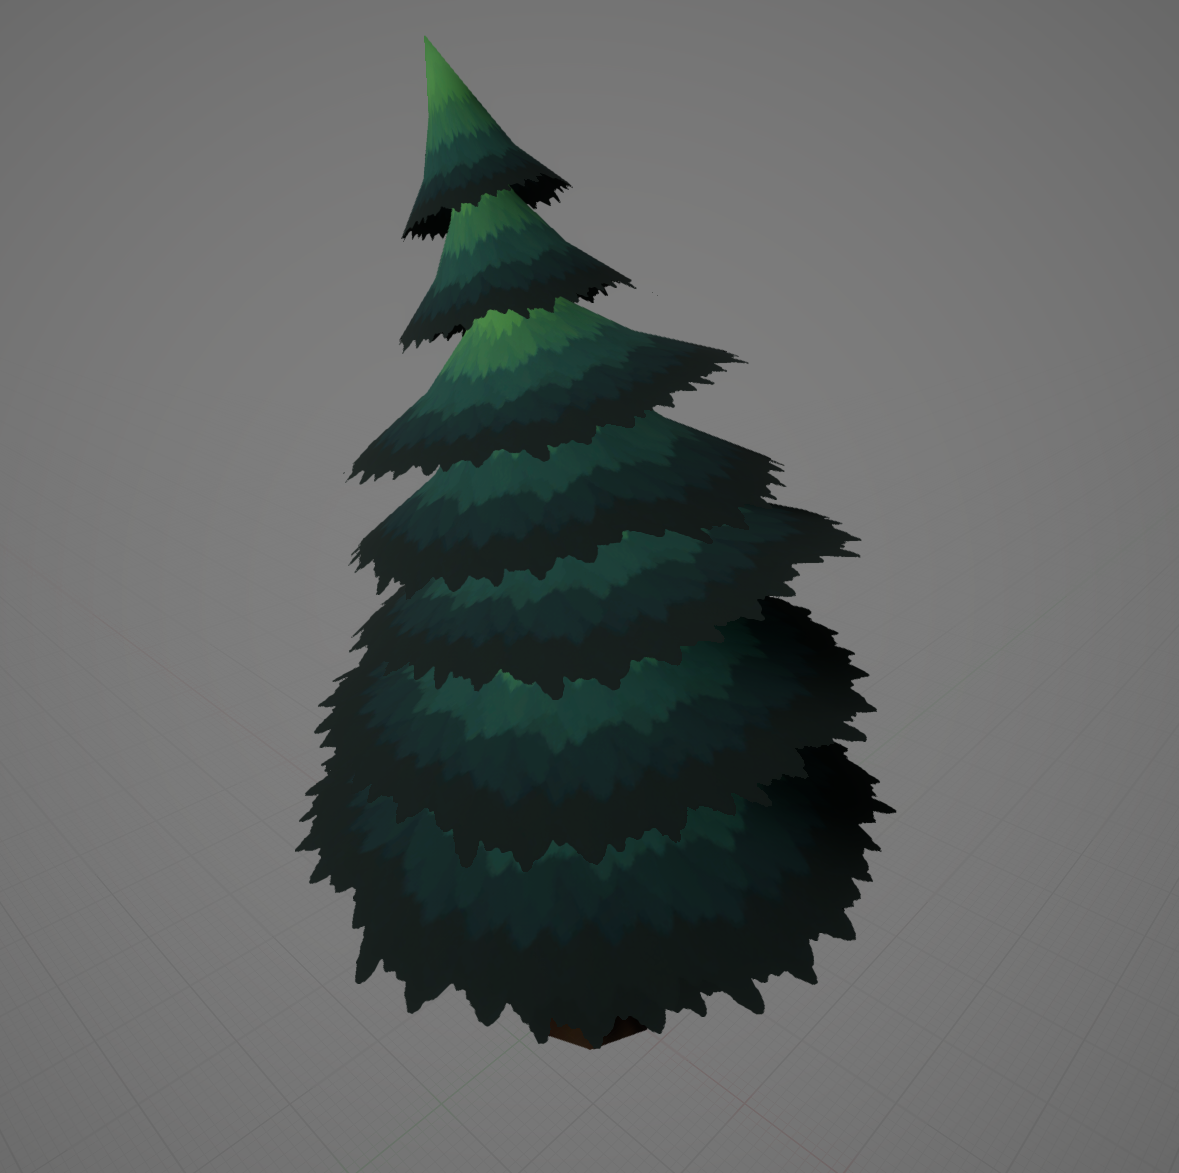
(Substance Designer Foliage)
I really wanted to try and use substance designer as much as possible for this assignment so I could get more familiar with its workflow. I found it really useful in creating the textures for the vegetation. It allowed me to easily change the colors on the fly between different variations of the graphs.


(Foliage Meshes)


