Summer Project 01 - PsychicStoreFront


Goals for project:


  • Learn more about modularity and making environmental kits
  • Recreate a realistic Unreal shot that closely matches up to a photograph image 
  • Integrate Substance Designer workflow directly into Unreal
  • Learn more about how to create ware and tear using material blending in UE4
  • Learn how to mimic the lighting by matching the master reference shot
  • Learn about the creation of cloth in Marmoses designer
  • Learn about the creation of neon light in UE4


What is the environment:
A small snapshot of a weathered New York City Psychic storefront at night. A heavy focus on realism.

Mood:
For this project, I wanted to create a more mysterious inviting mode that is represented in the concept image. As you are walking back from a late night of work, you stumble upon this rundown psychics storefront.

Possible complications:
I think a complication of this project might be the lighting due to how strong the contrast in the lights are, ranging from very dark to very light neon.

Props vs Building models


List of props:
  • Folding Door Gate
  • Display Case Props
    • Neon Sign
    • Hand Palm Guilds
    • Photo Frames
    • Head Bust
    • Stretched Male Statue
    • Tarot cards
  • Neon Sign
  • Neon Sign Power Cables
  • Frame
  • Curtains
  • AC unit with a Plastic cover

List of Building Assets:

  • Display Box “StoreFront”
  • Two Small Doors
    • Door Lock
  • Wall Pillars
  • SideWalk Curb
  • Sidewalk Cellar Door
  • Awning

Substance Designer Materials

  • Chiping Painted wood Yellow
  • NYC Sidewalk 


Schedule:
Project Begins 05/14 and ends 06/13

05/14 - 05/23:

  • Blockout Pass in maya representing every props and shape that will be in the final scene. 
  • Base UE4 scene set up, begin importing props
  • Working on lighting
  • UE4 Camera Set up


05/23 - 05/30:

  • High Poly Pass on every major building asset 
  • Display Box “StoreFront”
  • Two Small Doors
  • Door Lock
  • Wall Pillars
  • SideWalk Curb
  • Sidewalk Cellar Door
  • Awning
  • Door Lock
  • Continue Lighting 
  • Work on Neon Light in UE4


05/30 - 06/06:

  • High Poly Pass on Props in the display case
  • Folding Door Gate
  • Display Case Props
    • Neon Sign
    • Hand Palm Guilds
    • Photo Frames
    • Head Bust
    • Stretched Male Statue
    • Tarot cards
  • Neon Sign
  • Neon Sign Power Cables
  • Frame
  • Curtains
  • AC unit with a Plastic cover
  • Resurfacing and texture work on Building Assets
  • Lighting
  • Substance designer Materials


06/06 - 06/13:

Resurface and Texture Props
UE4 final render + marmoset scene

Mile Stone 01 Submission (05-21-18)

This milestone I was able to complete everything task I set for my self. I also made a google sheets document in order to keep up help with project management.

 
So here is the Maya block out.


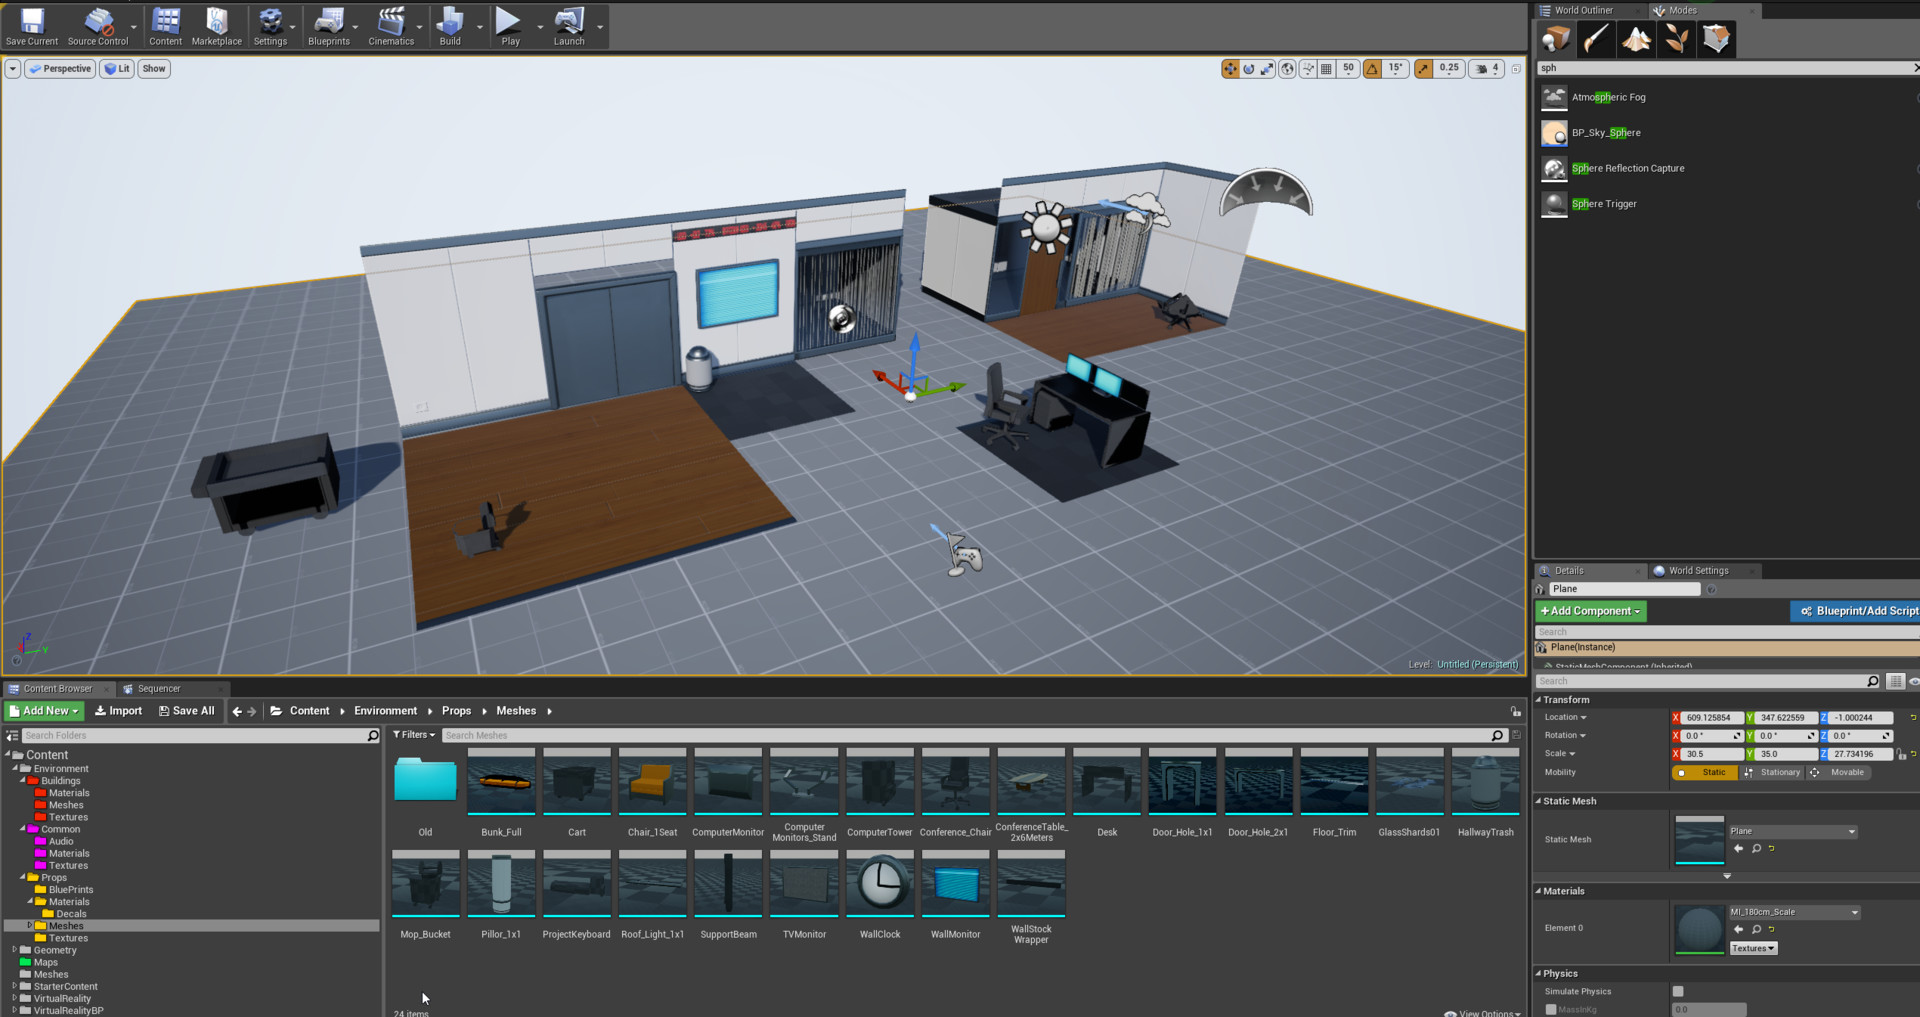
And here are the assets imported into UE4


Mile Stone 02 Submission (05-28-18)


Ok time for Milestone 2 due to date (Half way). While I have been making good progress overall I think I might be a little behind of my original goal for this turn in. It had been hard balancing 3 different projects at the same time.

I did get a chance to make some substance designer textures for the sidewalk and learned a little more about material instancing as well as Vertecy colors and material functions. 

I broke down all the assets in my Maya scene and placed them individually into UE4, setting up the bridge for the geo. I am in the process of getting the first pass on as many structural assets as I can, in order to have texture files linked. 


Mile Stone 04 Submission (06 -10 -18)


Final turn in, some of the props still need a lot of work. However, its time to turn something in.


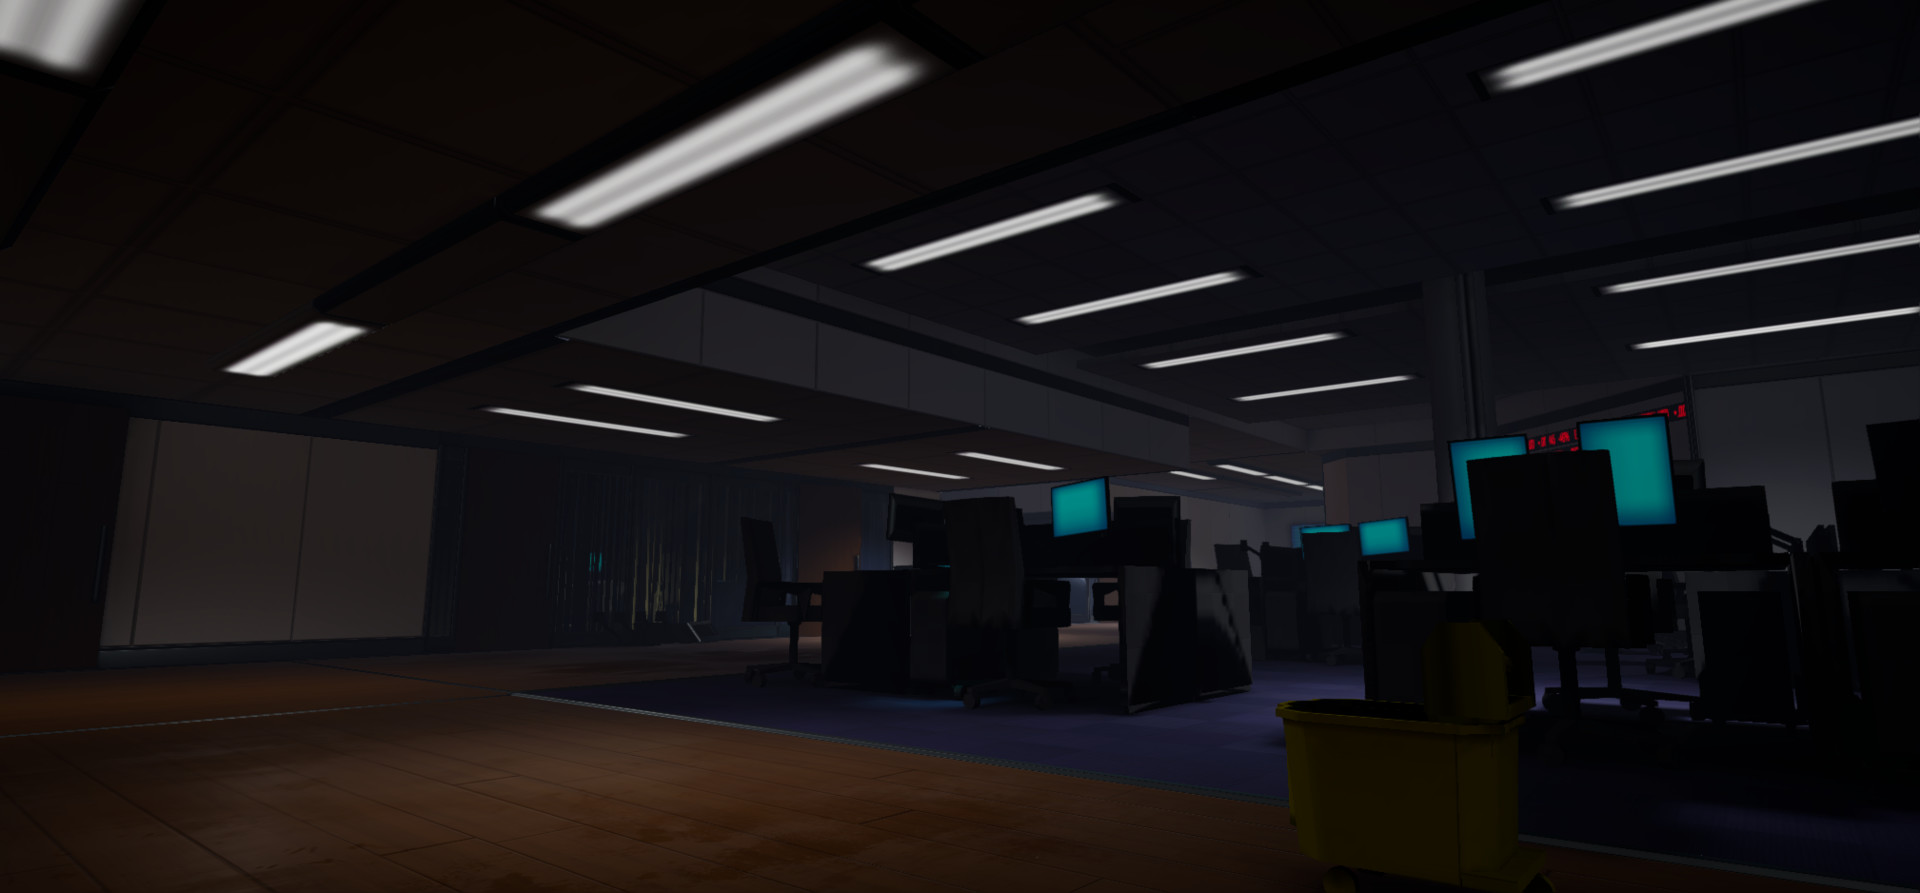
3D VR Environment Scene

Working on a new VR UE4 Project


Met so many amazing artists and fellow game devs at GDC 2018. After seeing so many amazing projects I felt I needed to start my own! 
So I am working on a new UE4 VR Environment!!!!!
After thinking about it on the plane ride back home, and doing some research on the mood and themes I wanted to hit. I landed on the idea of a  Cryptocurrency Investment Firm weeks after the market crashes.
I have always been fascinated by the idea of cryptocurrency and wanted to play around with the idea.  So the weeks after the collapse of the worldwide cryptocurrency market, the firm is in the middle of liquidating all their assets, including their home office. 
I need to work on having more detail in the building structures as well as create office furniture to bring the scene to life. Things like Desks, Chairs, Computers, Fans WATER COOLERS!! 
BUT I thought it would be useful to my self and others if I started posting my Work in progress shots here, along with any cool tips and richness I come across.  
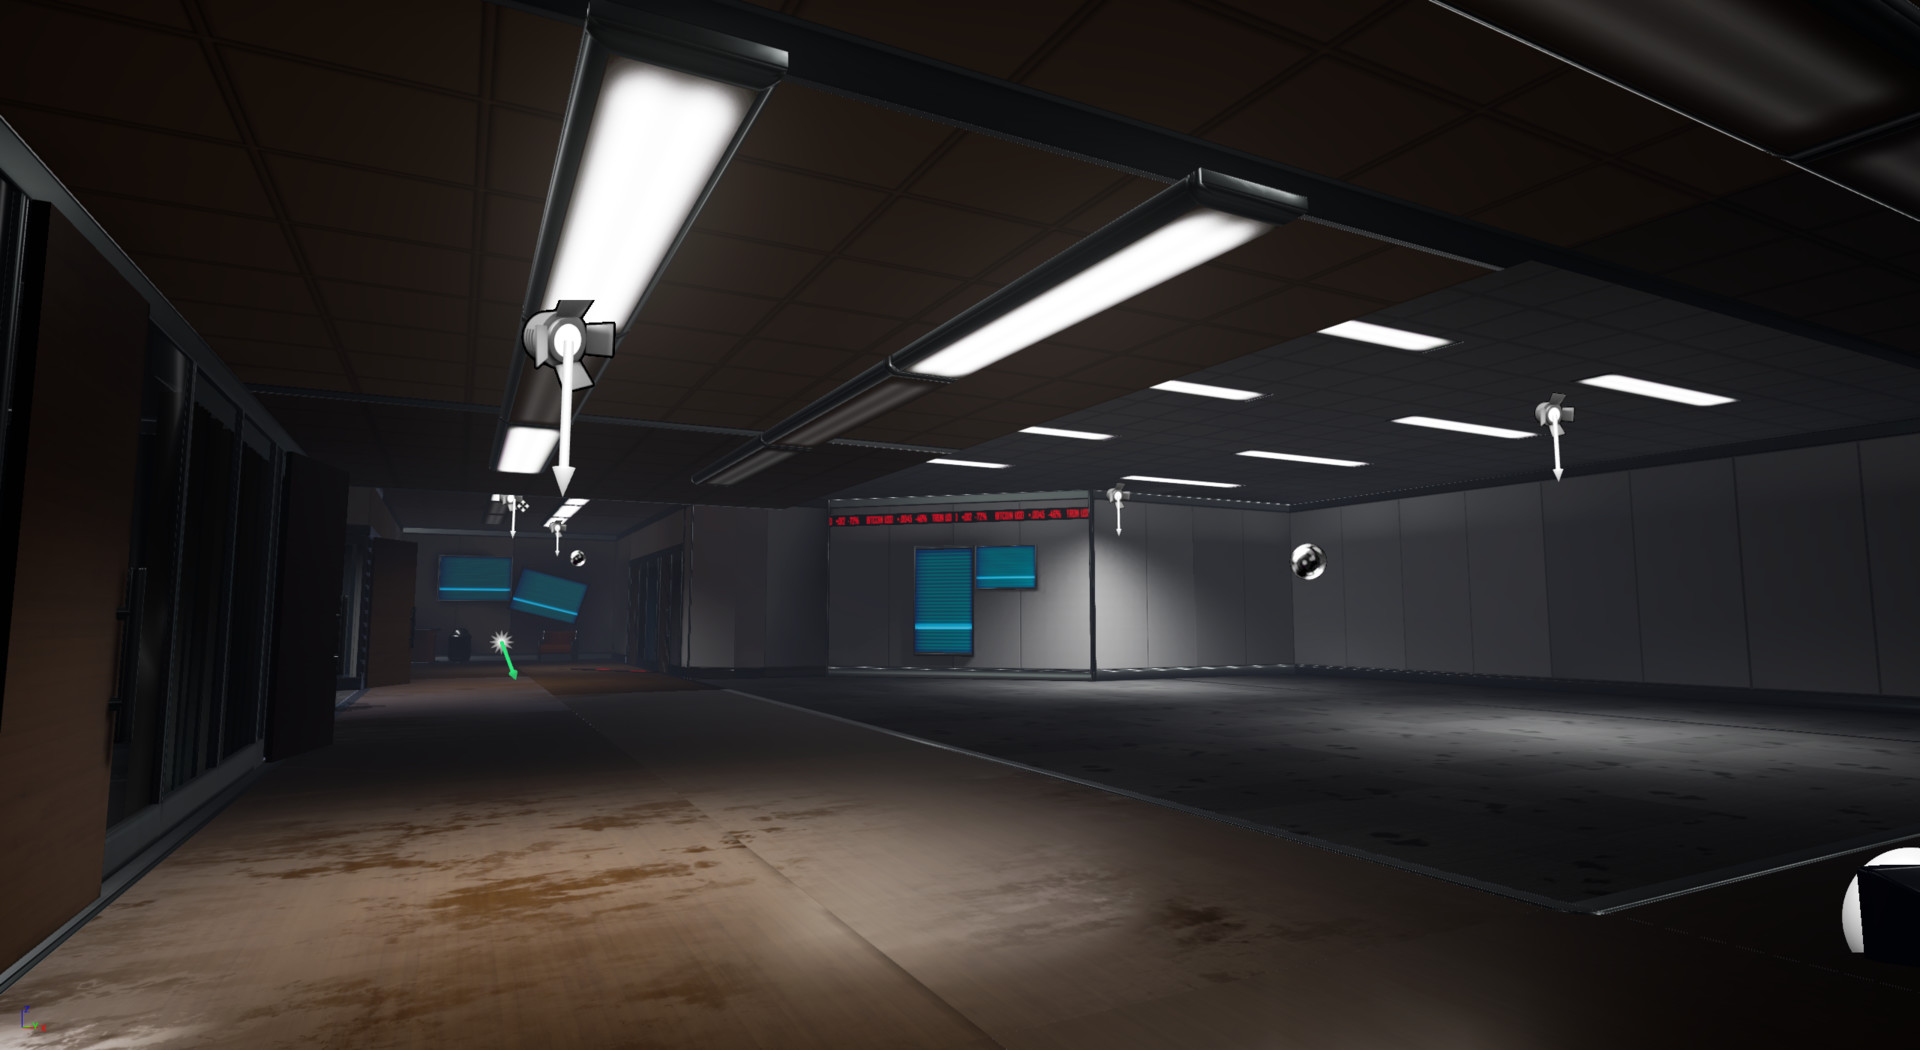
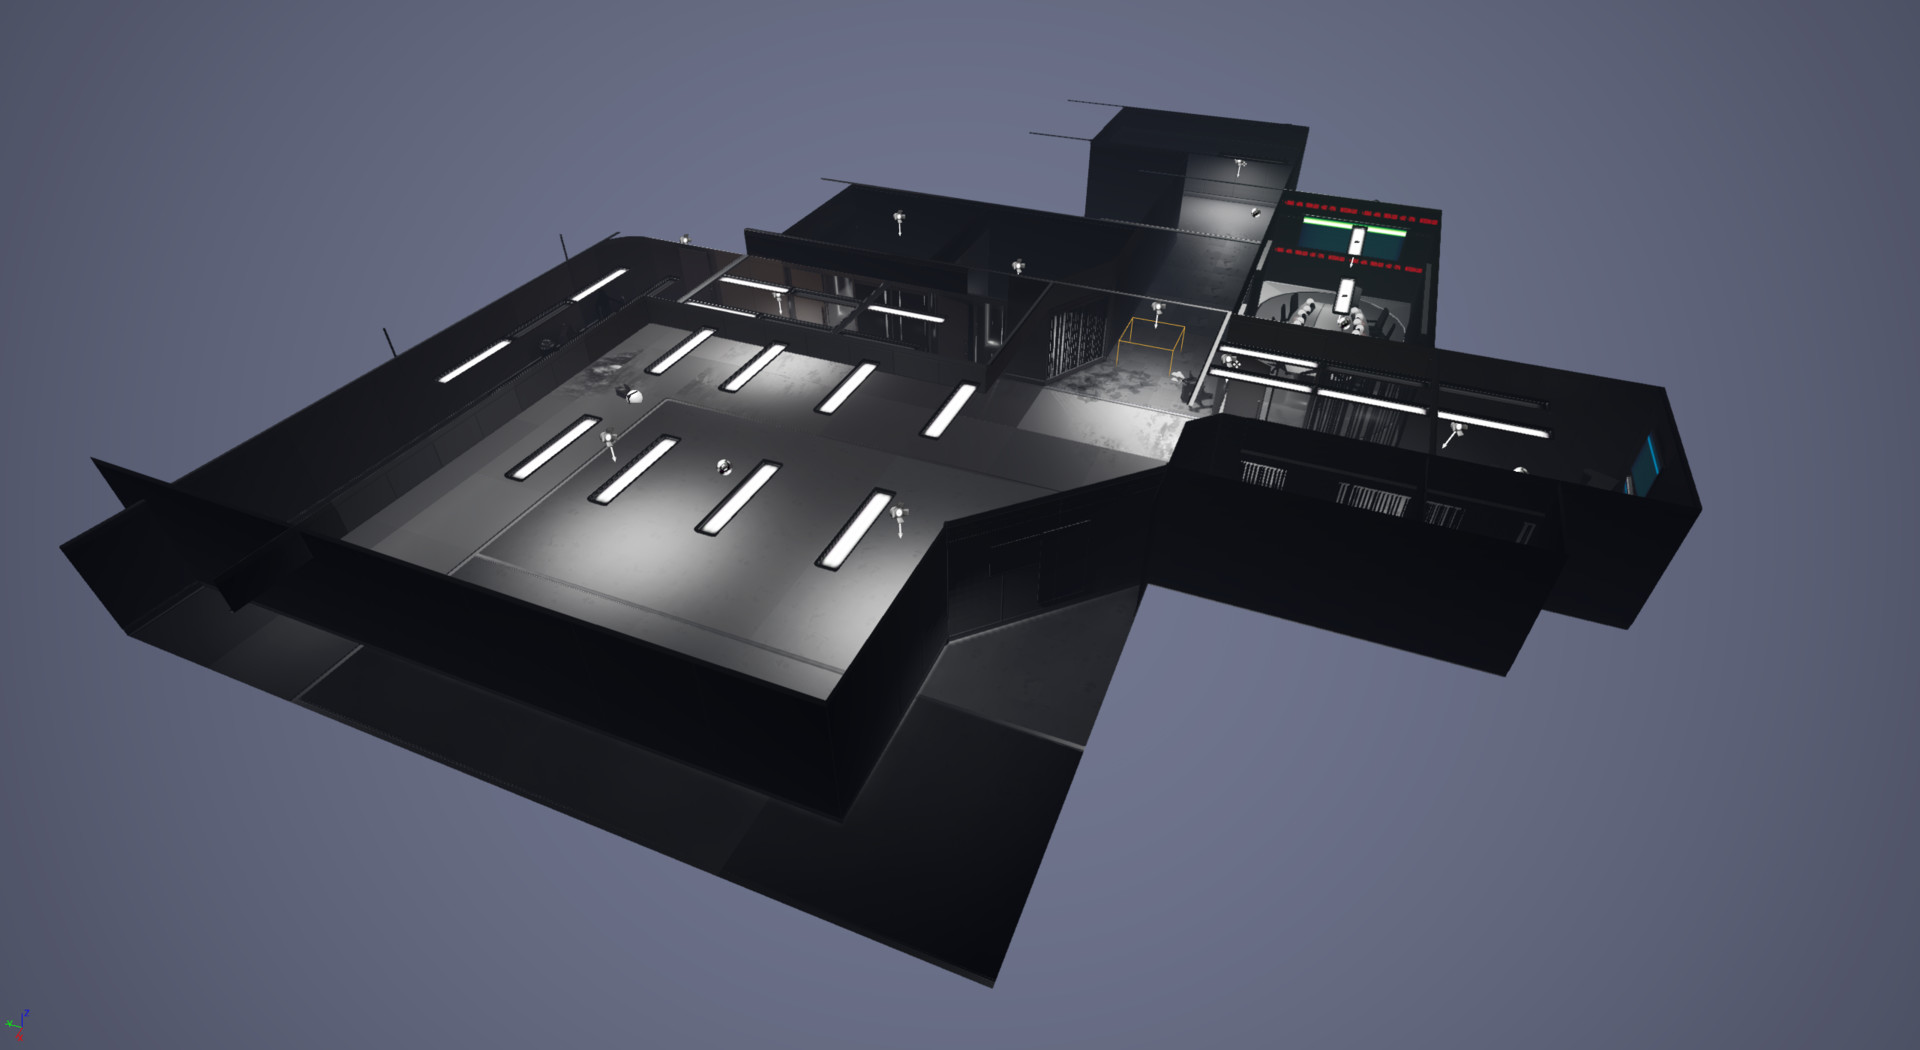
(The current state of the scene as of 04/01/2018)
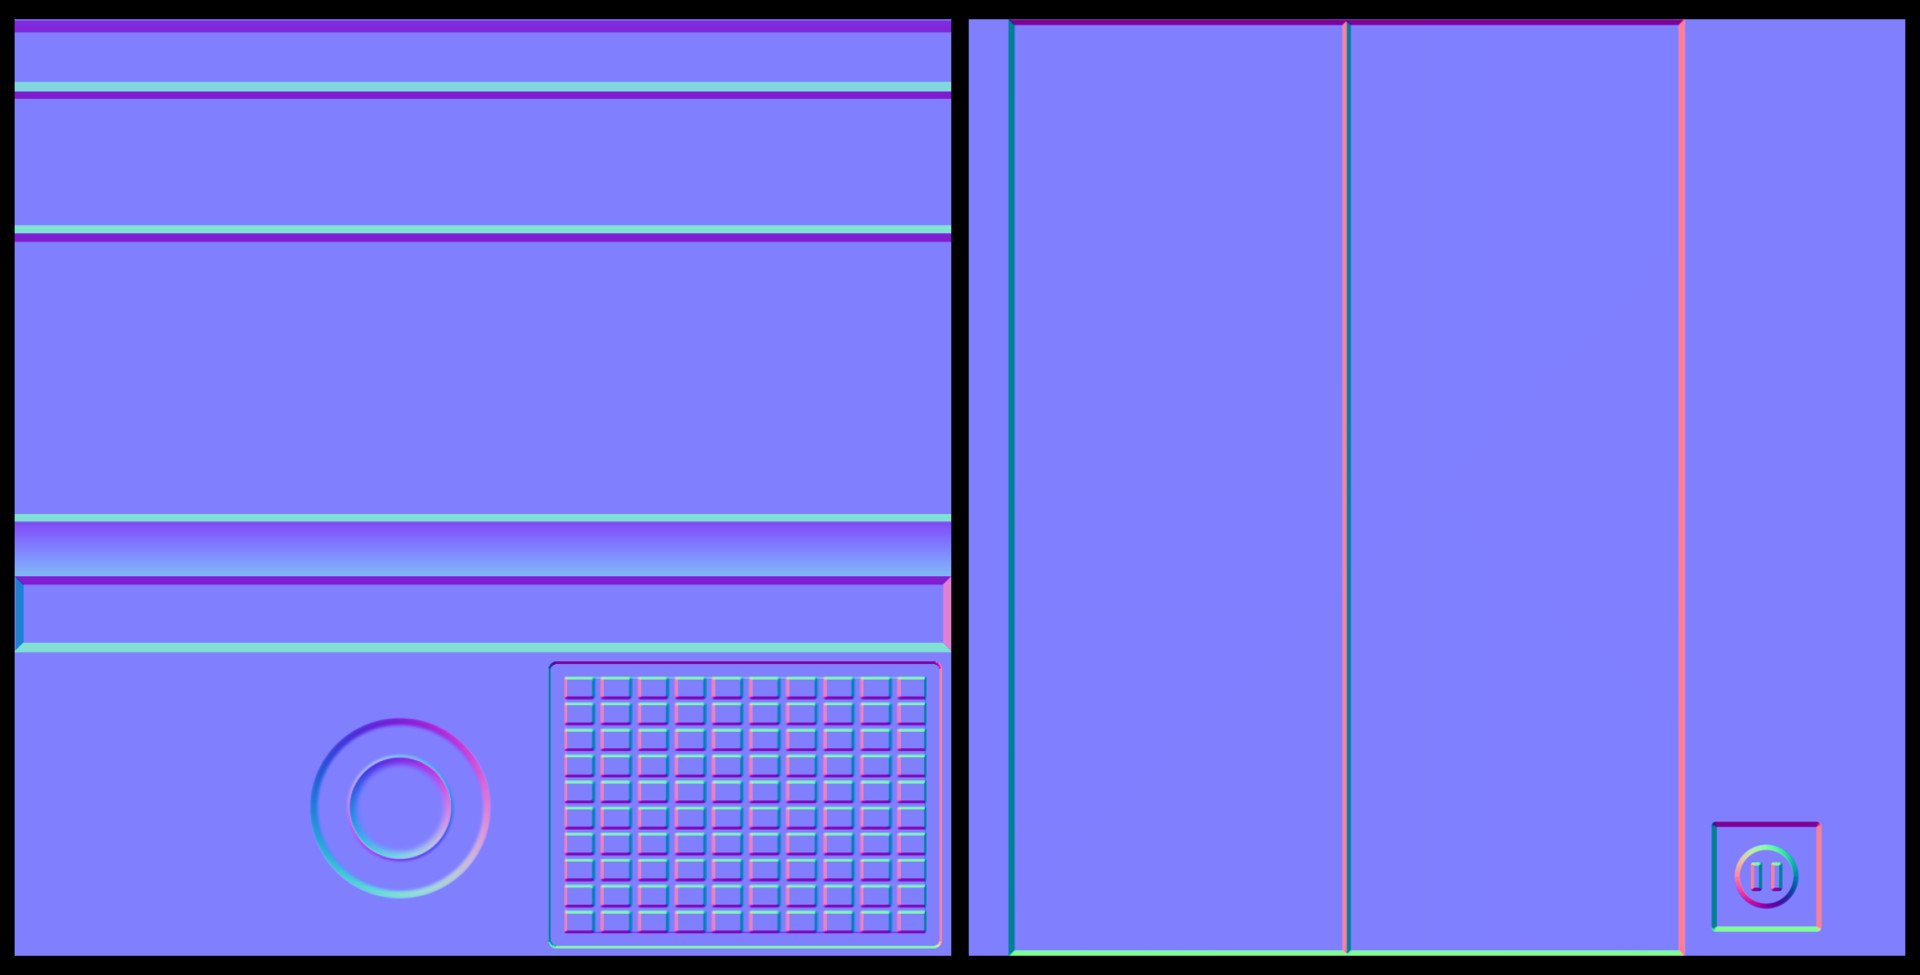
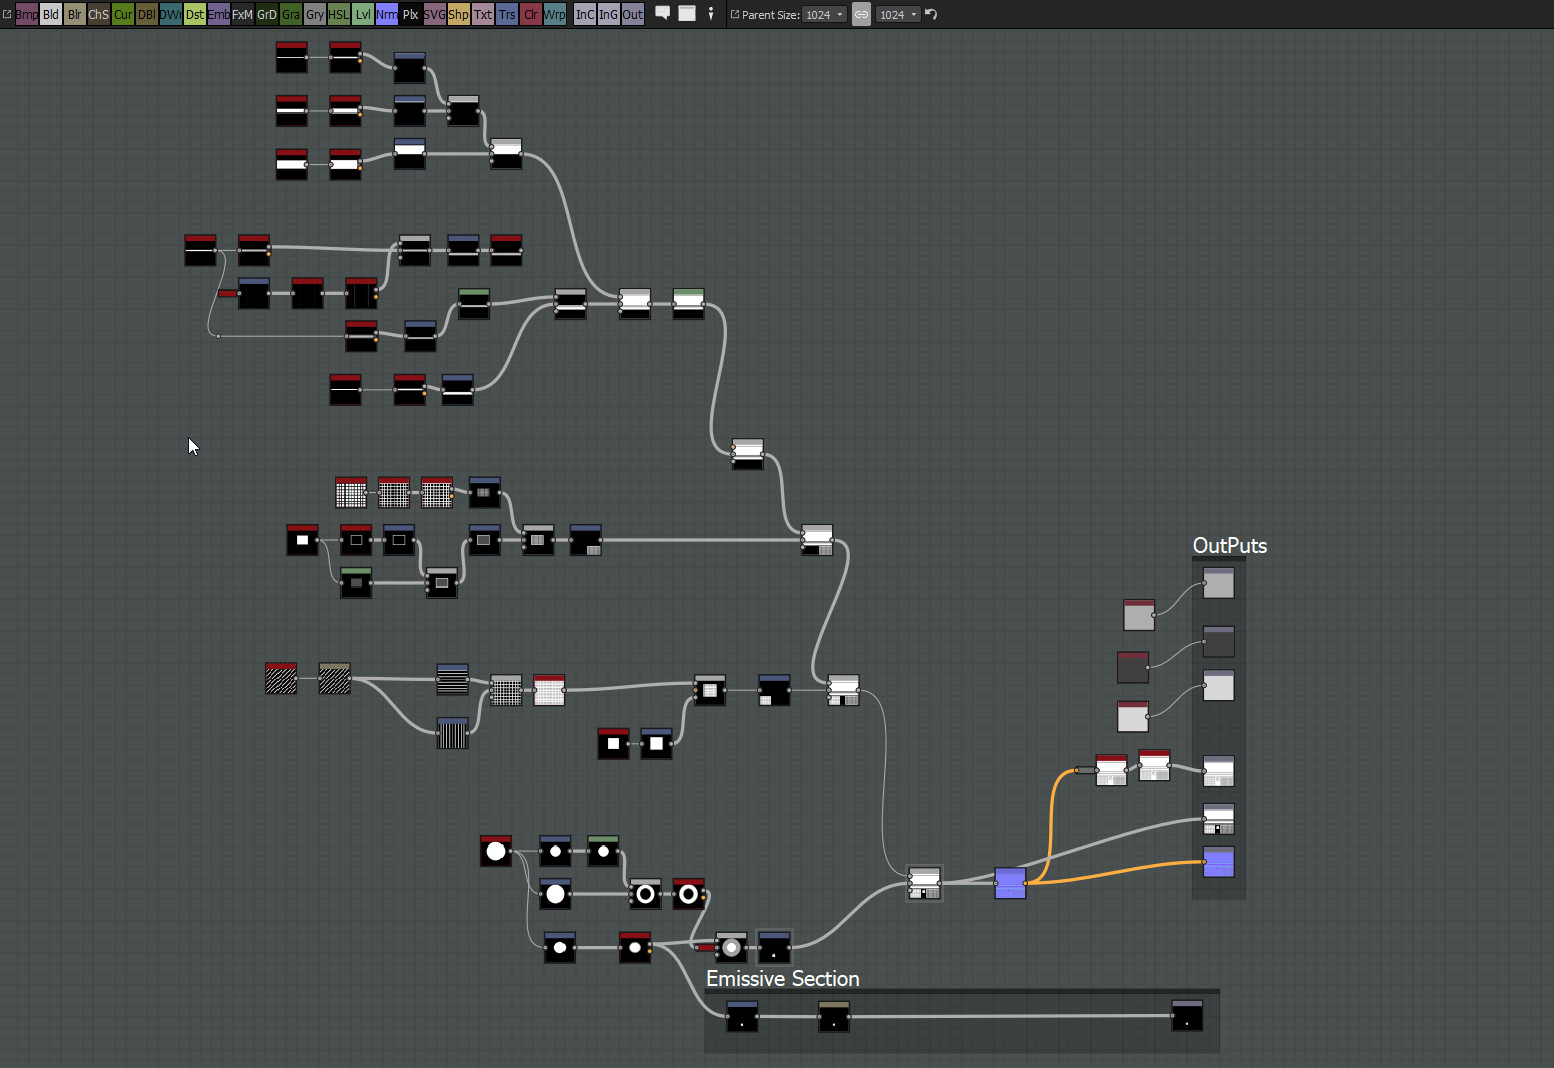
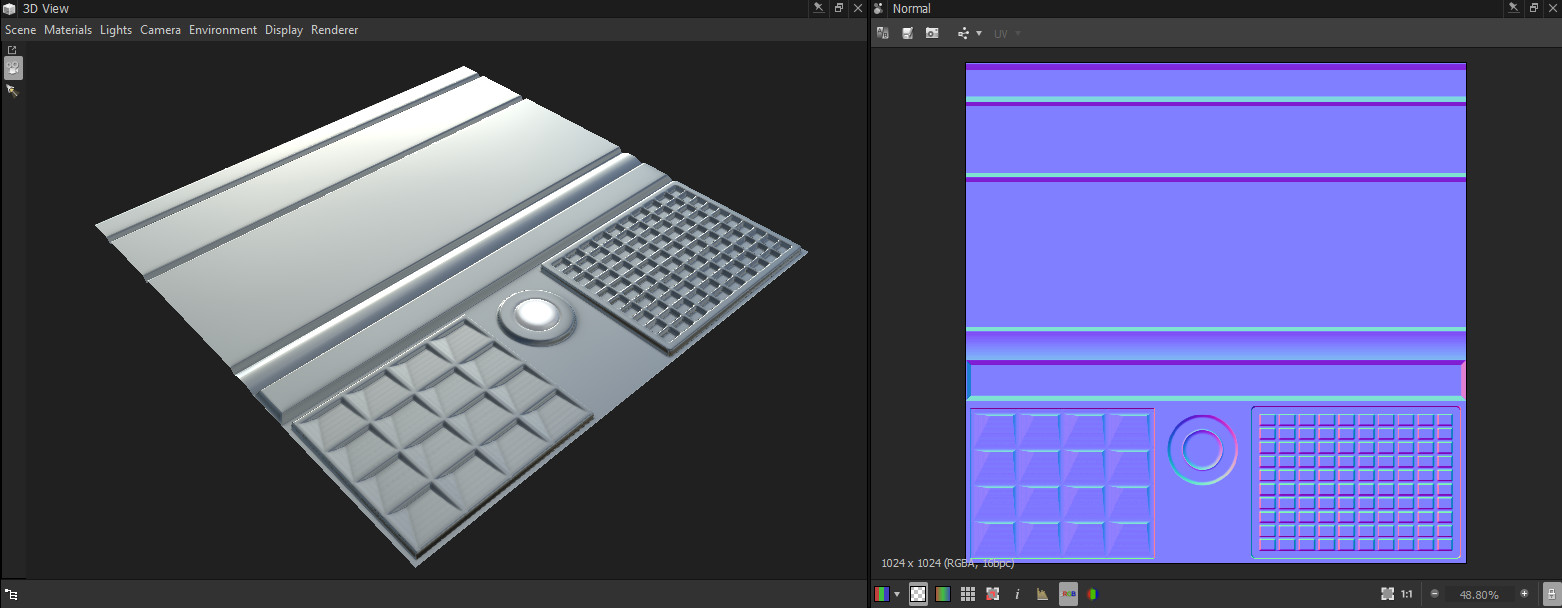
I am learning a LOT about the concept of trim sheets and how to use them appropriately in your scenes. For example, everything you see up here is using Two Normals maps. I have very very basic trim sheets at the moment as I am still trying to wrap my brain around how to use them. BUT DAM is it fun to use them to add detail to SIMPLE models. 
I am using Substance Designer to create my sheets, as I don't really know how to use the Quexel suit just yet.

(Trim Sheets used in the scene as of 04/01/2018)

I use Maya to model and test Modularity of my walls and such.

Using Substance Designer to create trim sheets


(UPDATE APRIL - 04 - 2018)

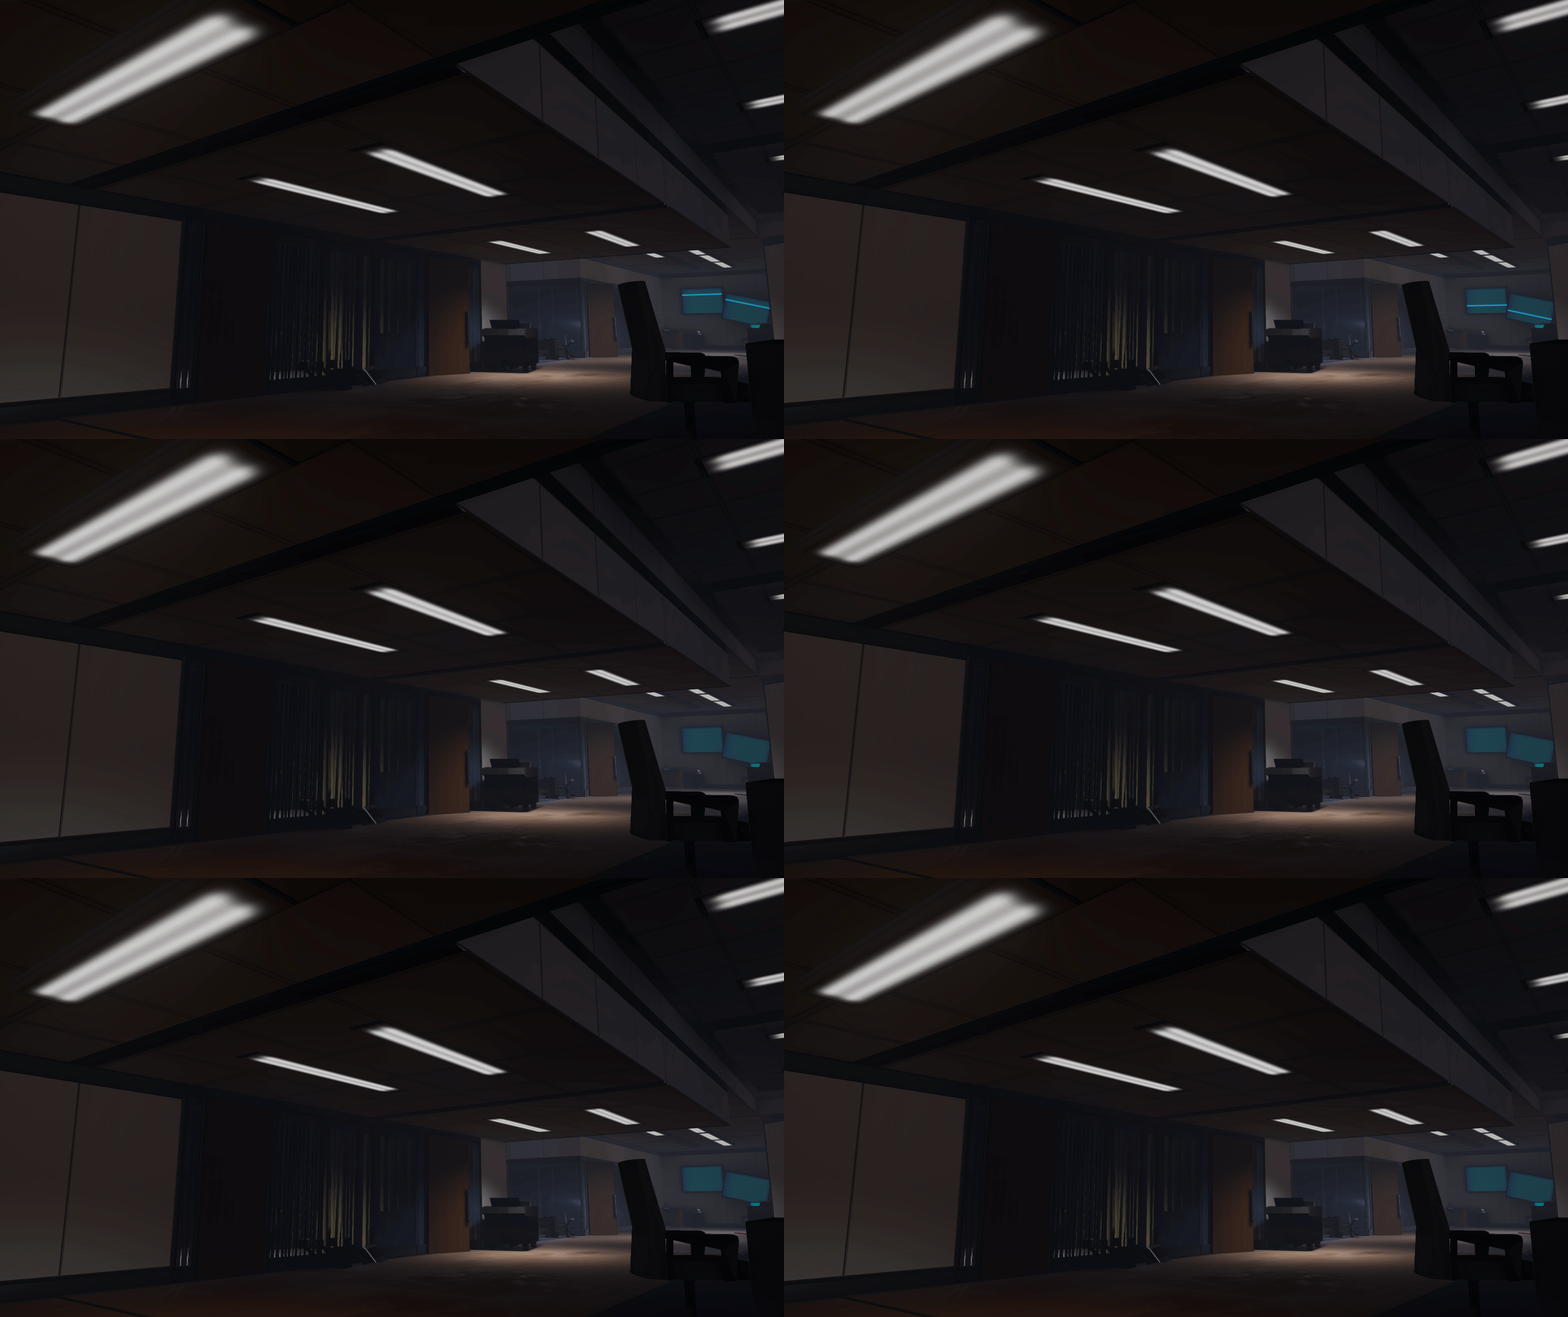
Taking a break from adding props to the environment, and learning a little bit about blueprinting in Unreal. I wanted to add some light flickering to my scene but I wanted to make a blueprint that gave me more control then just multiplying a sine to the emissive channel. Still working on the Blueprint but it's turning out rather well. 
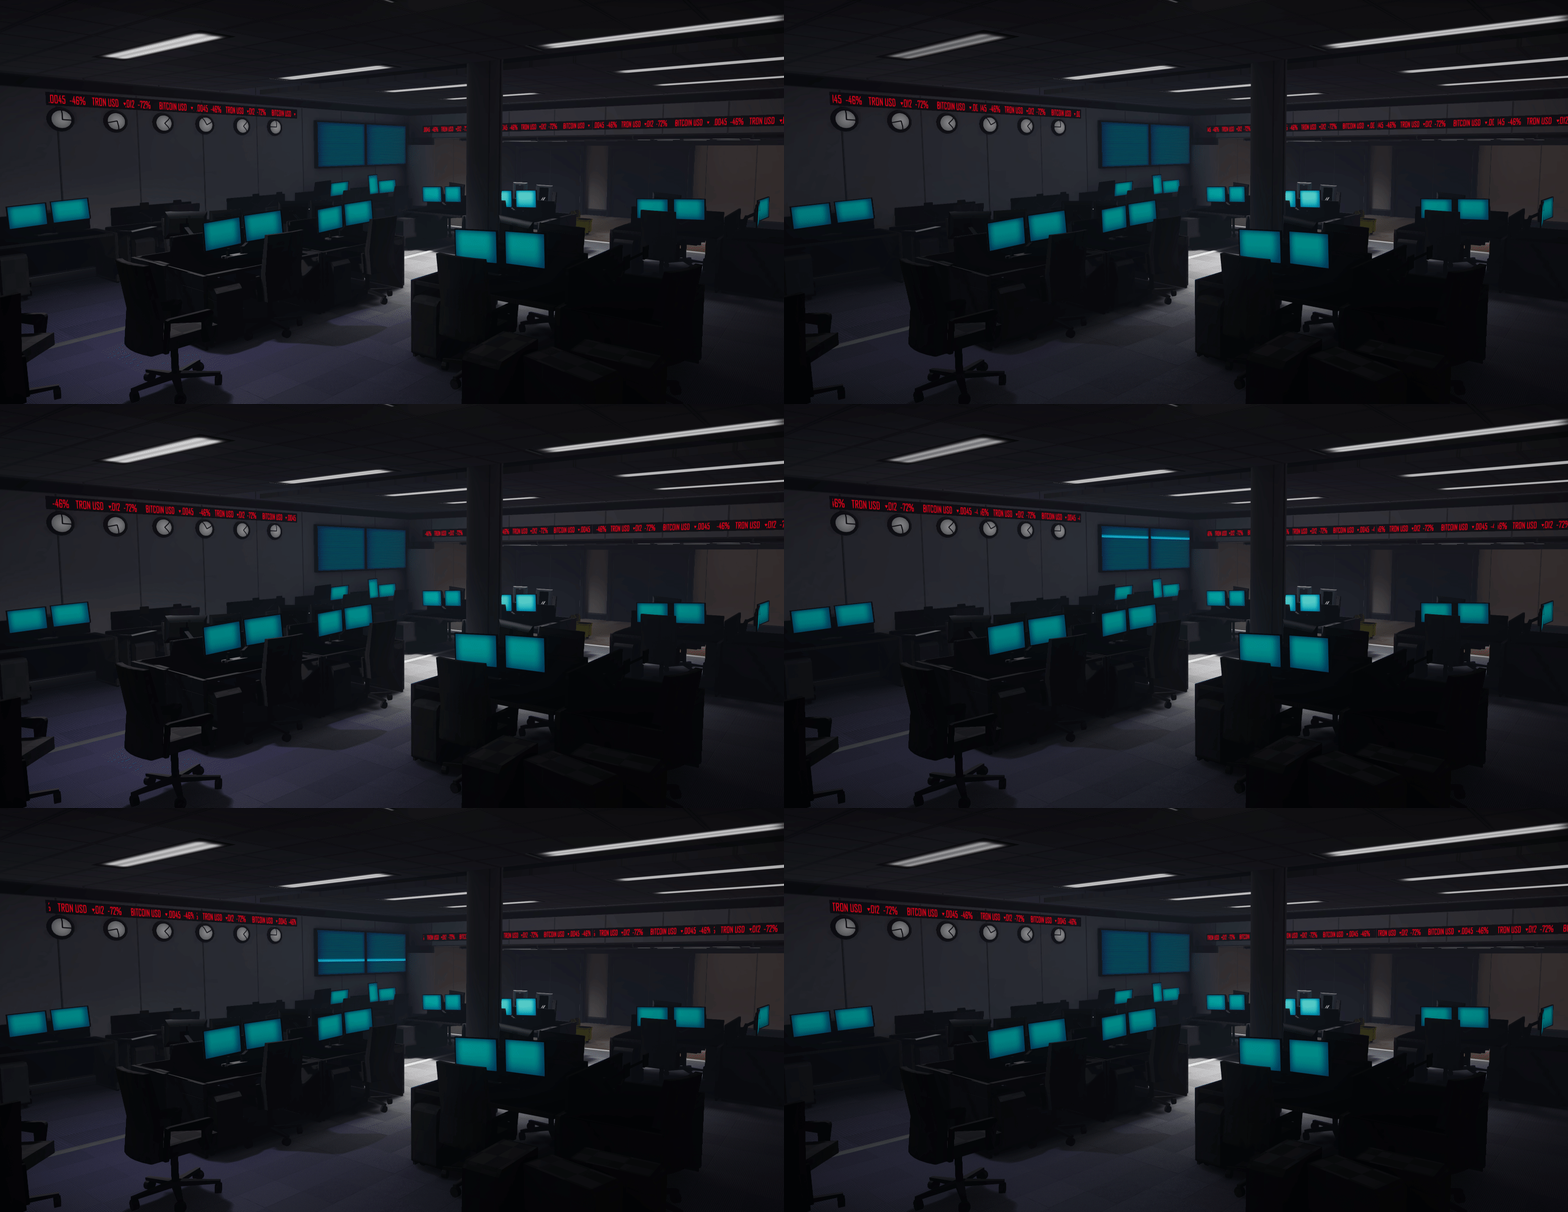
I am trying to add more movement to the scene to make it feel more visually interesting. So elements like the light flickering and stock market light stips help.

Next, I need to take a little bit of a break from this scene and think about what look I want to go with. So far it learning into a more darkly lit scene but I want to and experiment with different lighting scenarios and see what kind of mood I can get. 

Update 04/06/18


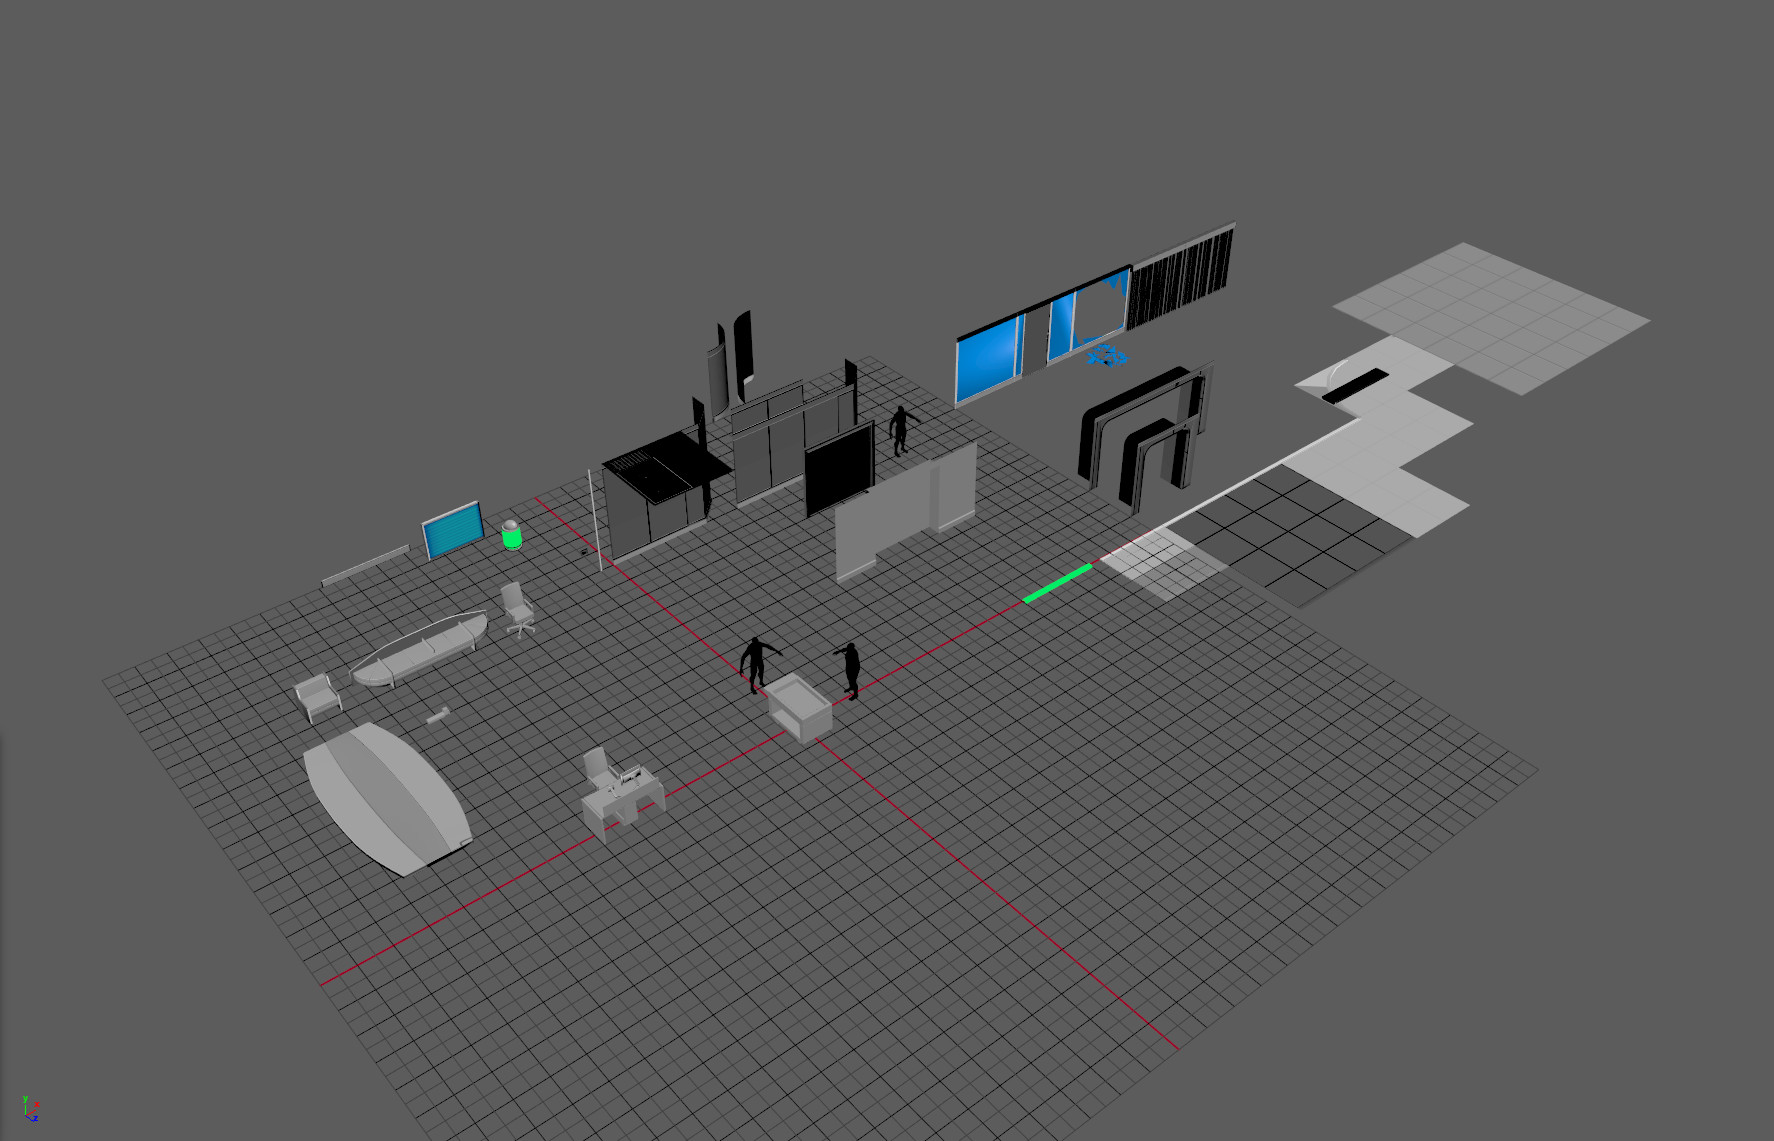
I felt like it was hard for me to work on congruency of the shapes as well as the materials in the lit scene. So I decided to create a "control group" map for the assets. This should help me better match everything in the scene later.


First Pass


Second Pass


 Third Pass


Update 04/23/2018


3D Class S2 Week 06 - Lion King Bust

Week 06 Organic Bust 

Since we just ended the Gun project, I wanted to take a break from realistic elements. I came across some of the old clay studies from Disneys 2D animation days. When I saw this cheeky guys grin, I knew he was the guy to sculpt. 

Reference

High Poly Sculpt


Working on Resurfacing


3D Class S2 Week 03 - 04 UK Carbine


Here we go, hard surface gun project! This time we get 3 weeks to fully model, sculpt, UV and bake a complex hard surface gun model.

For my project, I am going to try my hand at modeling this UK Carbine from 1944.


After researching this gun I came across a very useful channel on youtube, in where the host reviews all sorts of old and interesting firearms. Luckily for me, he takes his time and goes through not only the guns history but all the interesting features about the gun and the time period, as you can imagine this makes for a great reference.

Week 01

After working on this project for one week, I am a little worried about the scope of this gun. While I think I am making great progress and it's turning out a lot better than I first thought, there are so many difficult shapes to get right and a lot of interest details. Here is my current progress in Fusion 360.


When I find meself struggling to much with a component or shape of the gun, I try and move on so another until I can think of a new approach to solve my problem. Sometimes, however, I found it easier to head into Maya to great the overall shapes. I can later go into Zbrush and add the detailing. 
Below you can see an example of this in the guns lower handle. 


Final HighPoly


                                                 Week 02
So here we are, week 02 resurfacing! This gun has been a very complicated model for me, and the resurfacing and uving process has turned to be just as complicated as modeling the shapes. I am in the process of separating the parts based on their proximity to each other and exporting them in their own Highpoly and decimated groups. This step really helps with the baking process in that you will hopefully eliminate overlapping bakes. I found a really cool little mel script that allows me to color code my Maya outliner. I find this really helpful when I am trying to organize the low poly and decimated groups in Maya for the resurfacing effort.


As far as the Resurfacing and UVing process goes, here is my update on how far I have made it this week. Having to revisit the highly this week has put me slightly behind where I would like to be.

Zbrush Highpoly

Maya Viewport 

MarmoSet Bakes 
 MarmoSet Bakes (WireFrame)
  MarmoSet Bakes (WireFrame)
 MarmoSet Bakes 

Week 03

We made it, week 03, final week. This gun has given me no shortage of problems. After reworking the Highpoly and spending more time than I want to admit getting the lowly and UVs to bake correctly. Here is the final gun rendered in Marmoset. 

Final Render